Your website header is the first thing visitors notice when they land on your site, making it one of the most important elements of web design. It includes your logo, navigation menu, branding, and sometimes call-to-action buttons or search bars. A well-designed header not only makes your site visually appealing but also guides users intuitively through your content, enhancing their experience and encouraging engagement. For anyone managing a WordPress website, learning how to edit header in WordPress is essential.
WordPress provides several options for customizing headers, catering to beginners as well as advanced users. Whether you want to make simple changes using the built-in Customizer, create a fully custom header with a page builder like Elementor or Divi, add custom CSS styling, or edit theme files directly, there’s a method that fits your skill level.
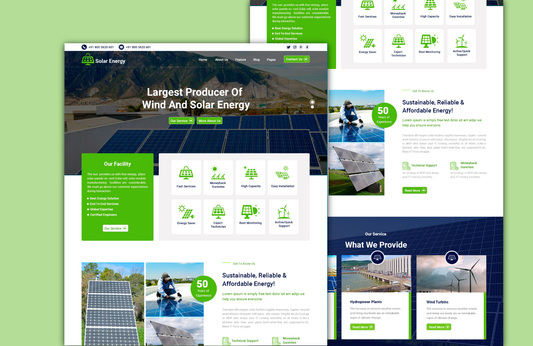
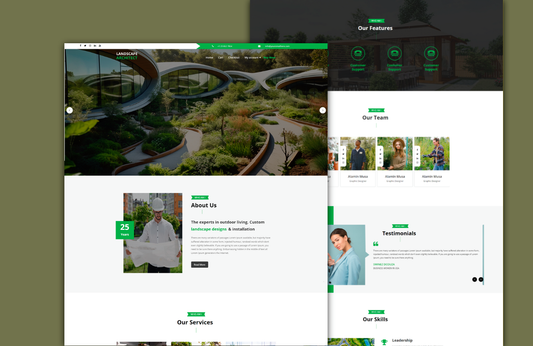
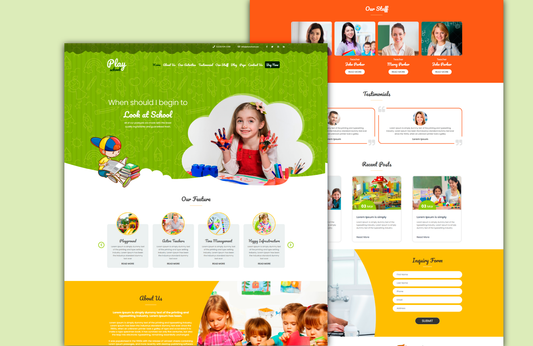
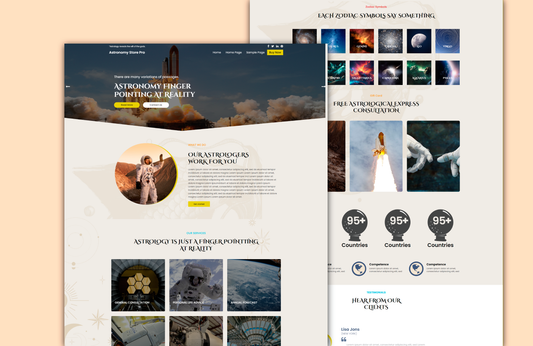
Pairing this flexibility with one of the best WordPress templates ensures your site looks professional and performs seamlessly. These templates offer clean code, responsive layouts, and full compatibility with popular page builders, making it easier to design headers that align with your brand’s identity. Whether you’re creating a business site, portfolio, or online store, the right WordPress template gives you both creative control and strong functionality.
In this guide, we’ll explore all the practical ways to edit your WordPress header, including step-by-step instructions, tips, and best practices for creating a header that is both functional and visually appealing.
Why Your WordPress Header Matters

Your header is not merely a decorative element; it’s the gateway to your website’s user experience and branding. Visitors instinctively look at the top of your page to identify your brand, navigate your site, and find essential information. When you understand how to edit header in WordPress, you can control how visitors interact with your site at first glance. A good header typically includes a logo for brand recognition, a navigation menu for smooth browsing, search functionality to locate content quickly, and sometimes call-to-action buttons such as “Contact Us” or “Shop Now.” Each of these elements contributes to the usability, aesthetic appeal, and professionalism of your site.
A poorly designed header can confuse visitors and increase bounce rates, while a well-crafted header improves engagement, builds trust, and makes your website more memorable. Customizing your header effectively is a key step in ensuring that your site looks professional and functions efficiently.
Different Ways to Edit Your WordPress Header
Learning how to edit header in WordPress can be approached in several ways depending on your skill level and the type of customization you want. Below, we’ll explore the most effective methods, from beginner-friendly tools to advanced coding options, so you can choose the approach that best suits your website.
Method 1: Using the WordPress Customizer

One of the easiest ways to learn how to edit header in WordPress is by using the built-in Customizer. This tool allows you to preview changes in real-time, making it ideal for beginners. To start, log into your WordPress dashboard and navigate to Appearance Customize. Depending on your theme, you’ll see options under Header, Site Identity, or similar sections. You can upload a new logo, edit your site title and tagline, adjust header colors, or even change the background image of the header. The live preview feature allows you to experiment with different layouts and designs before committing changes.

Once satisfied with your adjustments, click Publish to apply the changes to your live site.
While the Customizer offers a simple and effective way to modify headers, remember that the options available can vary depending on your theme. Some themes offer limited customization, while premium themes may provide advanced header editing features.
To make the most of these design features, it’s equally important to use must-have SEO plugins that help your site rank higher and perform better. Plugins like Yoast SEO, Rank Math, or All in One SEO Pack can enhance on-page optimization, improve metadata, and ensure your headers are SEO-friendly. This combination of design flexibility and SEO power helps you create a visually appealing, high-performing WordPress website.
Method 2: Editing Headers with Page Builders

For more creative control, page builders like Elementor, Divi, and Beaver Builder are excellent tools for learning how to edit header in WordPress. These plugins allow you to build custom headers using drag-and-drop functionality without any coding knowledge. For example, in Elementor Pro, navigate to Templates Theme Builder Header.
Here, you can design a header from scratch or edit an existing template. Add elements like logos, navigation menus, social media icons, search bars, buttons, or banners. The display conditions feature lets you control where the header appears, such as sitewide, on specific pages, or excluded from certain pages. Page builders also allow you to create sticky headers, multi-layer headers, and dynamic headers that change based on user interaction.
This method gives designers and website owners unparalleled flexibility, allowing headers to be tailored to the brand’s identity and functionality requirements, ensuring a professional and visually appealing result.
Method 3: Editing the Header.php File

For advanced users, editing the header.php file directly provides complete control over your site’s header. Understanding how to edit header in WordPress at the code level allows you to customize the structure, layout, and functionality in ways that the Customizer or page builders cannot. To begin, navigate to Appearance>Theme File Editor and select header.php from your theme files. You’ll see a combination of HTML, CSS, and PHP that controls the header layout. Here, you can add new elements, rearrange existing ones, or insert custom scripts.
However, it’s crucial to use a child theme when editing this file. Direct edits to a parent theme can be lost during updates, undoing your changes. Always back up your website before making edits. This method is ideal for developers and advanced users who want full control over the design, functionality, and structure of their WordPress header
Method 4: Adding Custom CSS
Sometimes, minor styling changes are enough to enhance your header. Custom CSS is an effective method for learning how to edit header in WordPress when you want to modify colors, fonts, spacing, or other visual elements without changing the structure. To add CSS, go to Appearance Customize Additional CSS and enter your custom rules. For example:
This allows you to adjust visual aspects such as background colors, text styles, spacing, and alignment. Using CSS ensures that your header matches your brand identity while remaining responsive and functional. For precise customization, use browser developer tools to identify specific classes and elements. Custom CSS is a safe and flexible way to enhance header aesthetics without risking functionality or relying on plugins.
Method 5: Using Plugins for Header Customization

Another method to learn how to edit header in WordPress is through dedicated plugins. Plugins simplify the process and allow customization without coding. Popular options include:
- Insert Headers and Footers: Perfect for adding scripts or custom HTML to your header.
- Elementor Header Footer Builder: Allows creating fully custom headers visually.
- My Custom Functions: Safely add PHP snippets to modify header behavior.
Plugins offer convenience and reduce the risk of errors compared to manual coding. They are especially useful for beginners or those who want advanced functionality without editing theme files. However, it’s important to avoid overloading your site with plugins, as too many can affect site performance and loading speed. Selecting lightweight and well-coded plugins ensures that your header customization is efficient and reliable.Best Practices for Editing Your WordPress Header
When learning how to edit header in WordPress, following best practices ensures your header is effective, professional, and user-friendly.
- Keep Navigation Clear: Avoid overcrowding with too many links. Stick to essential pages like Home, About, Services, and Blog.
- Ensure Mobile Responsiveness: A large portion of users access websites via mobile devices. Test your header on different screen sizes.
- Maintain Brand Consistency: Use consistent colors, fonts, and logos throughout the header.
- Include Call-to-Action Elements: Strategically place buttons like “Contact” or “Shop Now” to encourage engagement.
- Optimize Loading Speed: Avoid heavy images or scripts that slow down the header, as it can affect the entire site’s performance.
Following these tips guarantees a header that is visually appealing, functional, and aligned with your website’s goals.
Troubleshooting Common Header Issues
Even after learning how to edit header in WordPress, you may face some challenges. Common issues include:
- Changes not appearing: Clear your browser and WordPress cache to ensure updates show.
- Broken layout: Incorrect code in header.php or conflicting CSS can disrupt your header’s appearance. Always backup first.
- Menu misalignment on mobile: Adjust CSS or theme settings to fix responsive issues.
- Plugin conflicts: Deactivate plugins individually to find the source of any conflicts.
Addressing these issues quickly ensures a smooth user experience and maintains the professionalism of your site.
Conclusion
Editing your WordPress header is essential for creating a professional and user-friendly website, and understanding how to edit header in WordPress allows you to control your site’s branding and navigation effectively. Whether you choose the simplicity of the WordPress Customizer, the flexibility of page builders like Elementor or Divi, the precision of editing the header.php file, or styling through custom CSS, each method has unique advantages depending on your skill level and requirements. Plugins also provide a convenient way to enhance your header without coding.
A well-designed header improves navigation, reinforces brand identity, and enhances the overall user experience. By following best practices such as keeping navigation clear, ensuring mobile responsiveness, and strategically placing call-to-action elements, you can create a header that is visually appealing and functional. Mastering how to edit header in WordPress empowers you to make your website more professional, engaging, and memorable, ensuring visitors stay longer and interact with your content more effectively.
FAQs
1. How do I edit my WordPress header without coding?
You can easily edit your WordPress header using the built-in Customizer (Appearance → Customize) or a page builder like Elementor or Divi. These tools let you make visual edits without touching any code.
2. Where is the header.php file located in WordPress?
The header.php file is found in your theme’s folder under Appearance → Theme File Editor. However, always use a child theme before editing to prevent losing changes during theme updates.
3. Can I add a logo and navigation menu to my header?
Yes. Most WordPress themes allow you to upload a logo and customize your navigation menu directly through the Customizer or page builder tools. You can also adjust positioning and colors for a better layout.
4. Why are my header changes not showing up?
If your changes don’t appear, clear your browser cache, WordPress cache, and any caching plugins you’re using. Sometimes, theme or plugin conflicts may also prevent changes from displaying.
5. What is the best way to make my header mobile-friendly?
Use a responsive WordPress theme and test your header on different screen sizes. Avoid overcrowding the header and ensure that menus and buttons are easy to tap on smaller screens.
Pro tip: Choose from the WordPress Theme Bundle available, as they're optimized for speed, responsiveness, and professional layouts.